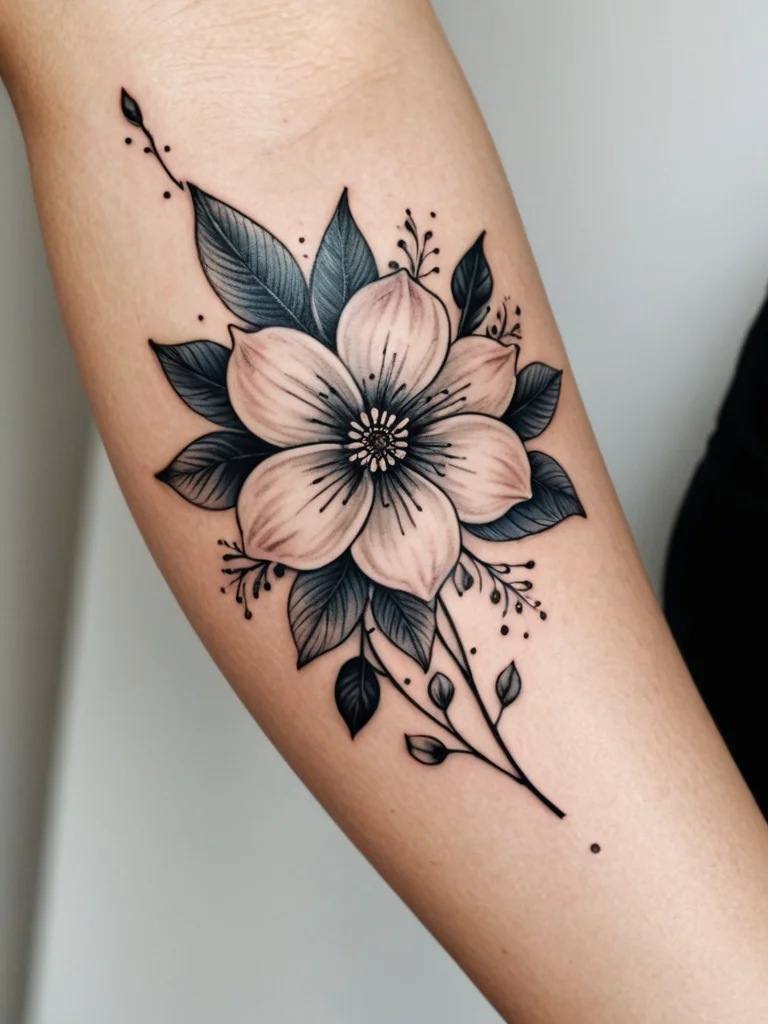
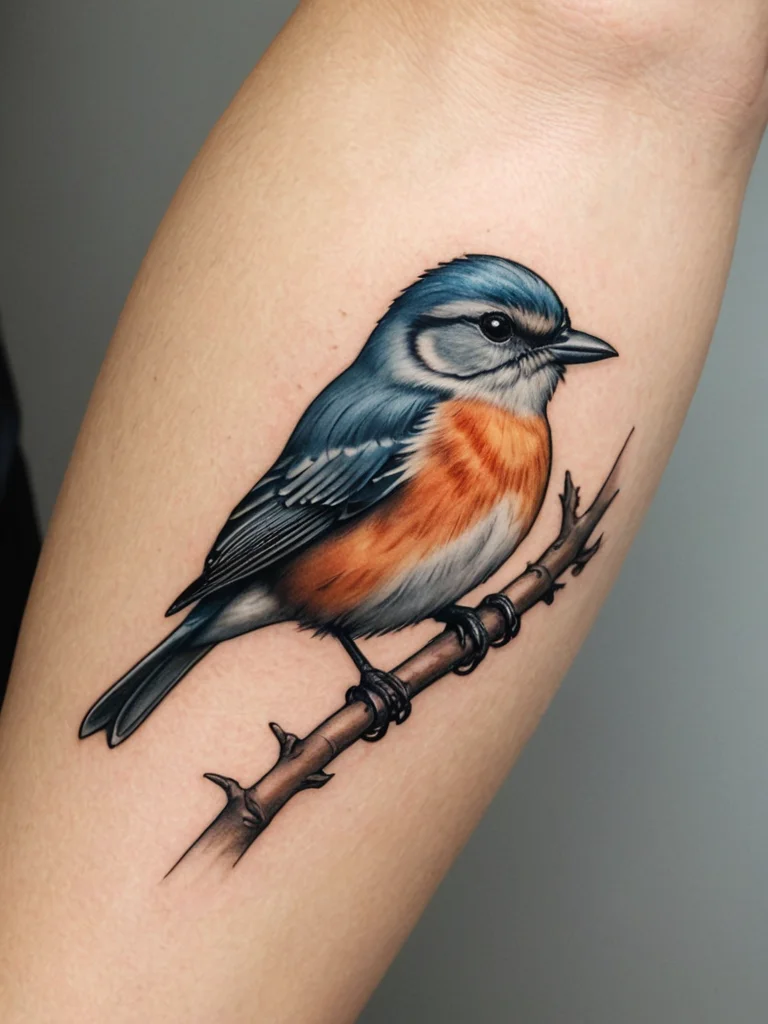
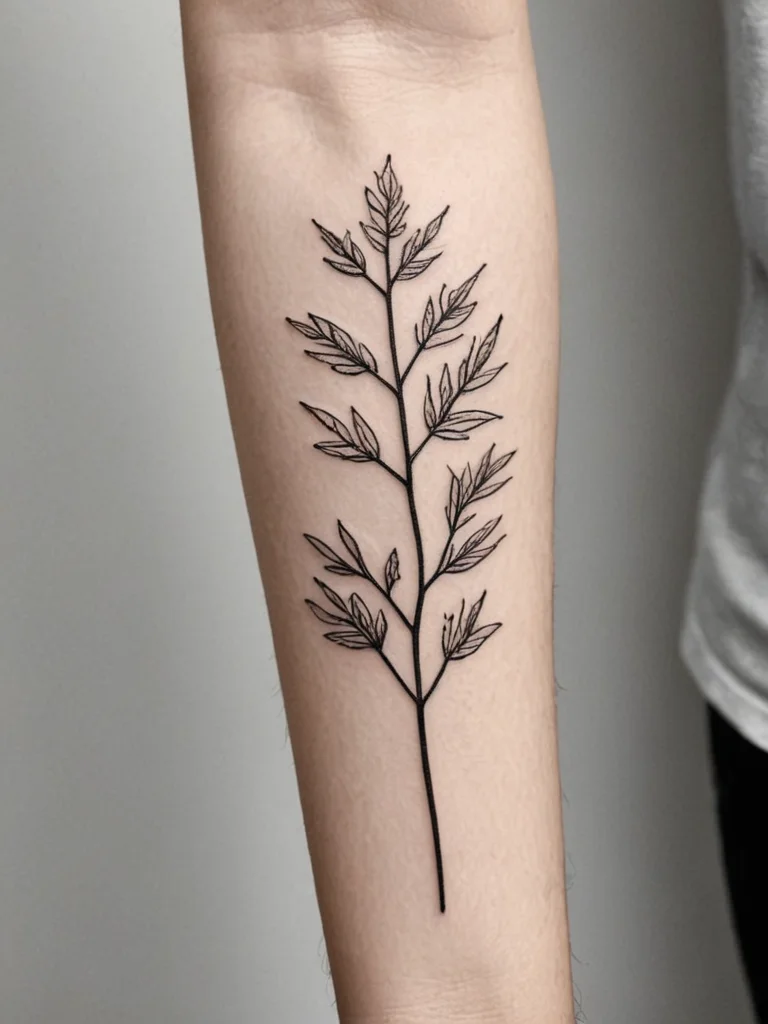
Embarking on the journey to acquire your first tattoo is a profoundly exciting and often highly anticipated experience. For many, it represents a significant milestone, a tangible expression of self, a piece of art that will become an indelible part of their personal narrative. However, beneath the surface of excitement, a natural current of apprehension often flows, stemming from the unknown. What exactly happens during a tattoo appointment? How will it feel? What should you prepare? These are common and entirely valid questions that swirl through the minds of first-timers. This comprehensive guide aims to demystify every step of the process, transforming any lingering uncertainties into confident anticipation. We will navigate the journey together, from the vital preparations before you even step into the studio, through the intricate process of the tattooing itself, and into the crucial immediate aftercare, ensuring you feel empowered and informed at every turn. Consider this your definitive roadmap to a successful and memorable first tattoo experience, allowing you to focus purely on the joy of creating a lasting piece of art on your skin.
Before you go: essential prep & what happens upon arrival
The success and comfort of your first tattoo appointment are significantly influenced by the preparations you make beforehand. Tattoo artists consistently recommend a series of pre-appointment rituals that can dramatically enhance your experience, minimize discomfort, and optimize the canvas – your skin – for the artistry to come. Think of this stage as preparing a pristine canvas for a master painter; the better the foundation, the more brilliant the artwork will be.
Firstly, hydration and nutrition are paramount. Ensure you are well-hydrated in the days leading up to your appointment. Healthy, hydrated skin is more pliable, more receptive to ink, and generally less prone to excessive swelling or irritation during the process. Similarly, eating a substantial meal an hour or two before your appointment is crucial. A steady blood sugar level will help prevent dizziness, lightheadedness, or even fainting, particularly if you are nervous or if the session is lengthy. Low blood sugar can exacerbate feelings of pain and discomfort, so nourish your body adequately.
Secondly, prioritize a good night’s sleep. Being well-rested contributes significantly to your pain tolerance and overall resilience. A tired body and mind are more susceptible to discomfort and stress. Aim for at least 7-8 hours of quality sleep the night before your session. Avoid alcohol or excessive caffeine the day before and on the day of your appointment. Alcohol thins the blood, which can lead to increased bleeding during the tattoo, potentially impacting the ink’s retention and making the artist’s work more challenging. Caffeine, while offering a temporary energy boost, can heighten anxiety and make you jittery, which is unhelpful when trying to sit still for an extended period. Similarly, refrain from taking any blood-thinning medications (such as aspirin or ibuprofen) unless medically necessary and with prior consultation with your artist and doctor.
Next, consider your clothing carefully. You will want to wear comfortable, loose-fitting attire that allows easy access to the area being tattooed. For instance, if you are getting a tattoo on your arm, a loose t-shirt or tank top is ideal. If it’s your leg, comfortable shorts or loose trousers that can be rolled up are best. Bear in mind that ink may smudge or transfer to clothing, especially during stencil application or if there’s any minor bleeding, so choose garments that you don’t mind potentially staining permanently. Layers are also advisable, as studio temperatures can vary, and your body temperature might fluctuate during the session.
Upon arrival at the studio, you’ll immediately notice the atmosphere. Reputable studios are meticulously clean, often adorned with impressive artwork, and exude a professional yet welcoming vibe. You will be greeted by the front-desk staff, who will guide you through the initial administrative steps. This typically involves presenting your valid government-issued photo identification. This step is non-negotiable, as studios must verify you are of legal age to be tattooed, which is usually 18 years old in most regions, even with parental consent. After ID verification, you will be asked to fill out a consent form and often a brief medical questionnaire. This form outlines the studio’s policies, confirms your understanding of the tattooing process, potential risks, and aftercare responsibilities, and may ask about allergies, medical conditions (like diabetes, heart conditions, or blood disorders), and medications that could affect the tattooing or healing process. Be honest and thorough; this information is crucial for your safety and the artist’s ability to provide the best care.
Once the paperwork is complete, you will typically be introduced to your artist, if you haven’t already met during a prior consultation. This is your opportunity for a final design review. The artist will confirm the placement, size, and any last-minute details of your chosen design. It’s important to communicate openly here. If you have any questions or feel hesitant about the design or placement, now is the time to voice it. Artists are experts in their craft and will offer guidance on how the design will best fit your body, flow with your musculature, and age gracefully on the skin. They might suggest subtle adjustments to ensure the tattoo looks its absolute best.
Following the design confirmation, the artist will prepare the stencil. This is a crucial phase where the design is transferred onto your skin. The artist will clean the area thoroughly with an antiseptic solution and then apply a special stencil solution. The paper stencil, essentially a temporary tattoo of your chosen design, is then pressed firmly onto the prepared skin. This allows you to see the exact size, placement, and orientation of the design before any permanent ink is laid down. This is your most important moment to approve the placement. Take your time. Stand up, move around, look at it in a mirror from various angles, and ensure it sits precisely where you envision it. Do not hesitate to ask the artist to re-position it if it’s not perfect. It can be moved multiple times until you are completely satisfied; once the tattooing begins, there’s no going back. A well-placed stencil is the foundation of a perfectly executed tattoo.
While you are approving the stencil, your artist will be meticulously setting up their workstation. This involves laying out all necessary supplies, which include sterile, single-use needles (each needle packet is opened in front of you), disposable ink caps filled with high-quality, professional-grade tattoo inks, barrier film for their machine and power supply, and an array of cleaning and sanitizing solutions. They will also put on fresh, disposable gloves. This stringent adherence to hygiene protocols is paramount in preventing cross-contamination and ensuring your safety. Observing these practices should instill confidence in the professionalism of your chosen studio and artist.
The tattooing process: a step-by-step walkthrough (what to expect during the ink)
With the stencil perfectly placed and your artist’s station meticulously prepared, the moment you’ve been anticipating finally arrives: the actual tattooing process. This is where the magic begins, where lines come to life and colors are infused into your skin, transforming a blank canvas into a personal masterpiece. Understanding each step can help alleviate any lingering anxieties and allow you to fully engage with the transformative experience.
The very first step your artist will take, even after the stencil is approved, is to once again thoroughly clean and sterilize the area of your skin that will be tattooed. This is often done with a medical-grade disinfectant, ensuring that the surface is free of any lingering bacteria or oils. Depending on the area, the artist might also do a quick, gentle shave of any fine hairs that could interfere with the tattooing process or compromise the clarity of the lines. This ensures a smooth, clean surface for the needles to glide over and for the ink to settle properly.
Once the skin is prepped, the artist will power on their tattoo machine. You will immediately become familiar with its characteristic buzzing sound. This distinct hum, often described as a dental drill or an electric razor, is the sound of the machine’s motor driving the needles rapidly in and out. While it can initially sound intimidating, most people quickly adapt to it, and it becomes the background soundtrack to their tattoo journey. The artist will then begin to carefully trace the lines of the stencil. They will hold your skin taut, using one hand to stretch the skin to create a firm, flat surface, while the other hand expertly guides the tattoo machine.
The sensation of getting tattooed is often the most asked-about aspect for first-timers. It is undeniably unique and varies greatly from person to person and even from one body part to another. Descriptions range widely: some liken it to a persistent cat scratch, others to a constant, sharp vibration, or even a continuous sunburn sensation. It’s typically described as a stinging, scratching, or buzzing sensation, rather than a deep, cutting pain. The pain level is highly subjective and depends on several factors: your individual pain tolerance, the location on your body (areas with more nerve endings or less flesh padding, such as ribs, feet, hands, or spine, tend to be more sensitive), the artist’s technique and hand pressure, and the duration of the session.
During the process, you may notice small beads of blood or plasma appearing on the surface of your skin. This is completely normal and expected. The artist will periodically wipe the area with a clean, sterile paper towel or a specialized wipe, often dampened with a soothing solution, to remove excess ink, blood, and plasma, allowing them to clearly see their work. This wiping also helps to minimize irritation and keeps the area clean. It’s important to understand that the needles are not going extremely deep; they are depositing ink into the dermis layer of your skin, just beneath the epidermis, where the ink is permanently encapsulated by cells.
Your artist will work methodically, often starting with the outlines of the design, creating the foundational structure. Once the linework is complete, they will move on to shading and color packing. Shading involves using different needle configurations and techniques to create depth, dimension, and smooth transitions of tone. Color packing, as the name suggests, is the process of saturating the skin with solid areas of color. Each phase of the tattoo process may feel slightly different in sensation. For instance, outlines can feel sharper, while shading might feel more like a duller, continuous vibration or a burning sensation. Artists often switch between different needle groupings and machine settings for different tasks, which can change the sound and feel.
Throughout the session, communication with your artist is key. Do not hesitate to inform them if you need a break. Whether it’s to stretch, use the restroom, grab a snack, or just take a moment to breathe and reset, good artists are accommodating and understand that comfort is essential for a smooth session. For longer sessions, breaks are often built-in. Use these moments to hydrate and fuel yourself. Many people find that engaging in conversation with their artist helps to distract them from the sensation, while others prefer to listen to music with headphones or quietly observe the process. Do what feels most comfortable for you.
It’s also normal to experience some common physiological reactions. The tattooed area will likely become red and swollen during the session, and it will feel warm to the touch. This is your body’s natural inflammatory response to the minor trauma. You might also notice a slight tingling or burning sensation. These are all part of the normal process. However, if you experience extreme pain, dizziness, nausea, or feel like you might faint, immediately alert your artist. They are trained to handle such situations and will guide you on what to do, often by elevating your feet or providing a sugary drink.
Remember, your artist is a skilled professional who has honed their craft over years. They are focused not only on creating a beautiful piece of art but also on ensuring your comfort and safety. Trust their expertise, follow their guidance, and allow yourself to relax into the rhythm of the machine. The precision and dedication required for tattooing are immense, and witnessing it firsthand is often an awe-inspiring experience. As the session progresses, you will begin to see your vision materialize, transforming from a stencil on your skin into a vibrant, permanent work of art, etched with care and precision.

Immediate aftercare & final steps: payment, tipping, and aftercare instructions
As the final touches are laid down, and your artist puts away their machine, a sense of immense satisfaction and perhaps a touch of exhaustion will likely wash over you. The tattooing process might be complete, but the critical phase of immediate aftercare is just beginning. This period is paramount for the proper healing of your new tattoo and for preserving the integrity and vibrancy of the artwork for years to come. Your artist will guide you through these crucial final steps, ensuring you leave the studio well-informed and prepared.
The very first step your artist will take after completing the tattoo is a thorough cleaning of the area. They will gently wipe away any excess ink, blood, or plasma using a sterile wipe or a mild, specialized cleanser. This ensures the tattoo is clean and ready for its initial protective covering. Depending on the artist’s preference and the studio’s protocol, your fresh tattoo will then be dressed or wrapped. There are primarily two common methods: traditional wrapping or a breathable bandage.
Traditional wrapping often involves a thin layer of antibacterial ointment or a specialized tattoo balm, followed by a sterile absorbent pad secured with medical tape, or a layer of cling film (plastic wrap). The purpose of this initial dressing is to protect the fresh wound from bacteria, airborne contaminants, and friction from clothing, while also allowing the skin to release plasma and excess ink. If cling film is used, artists typically advise removing it within a few hours (usually 1-4 hours) to allow the skin to breathe. The specific timing will be clearly communicated by your artist.
Alternatively, many artists now utilize modern, transparent, breathable adhesive bandages, often referred to by brand names like Saniderm or Tegaderm. These medical-grade films act like a second skin, creating a moist healing environment that can significantly reduce scabbing, protect the tattoo from external elements, and allow you to go about your day with minimal disruption. If an adhesive bandage is used, your artist will provide precise instructions on how long it should stay on (often 24 hours to several days, sometimes with a change in between), and how to carefully remove it. Both methods have their merits, and your artist will choose what they believe is best for your specific tattoo and skin type.
Following the dressing, your artist will provide you with detailed verbal aftercare instructions. This is a critical moment for active listening and asking any clarifying questions you may have. They will explain how to wash your tattoo, what type of soap to use (typically a mild, fragrance-free, antibacterial liquid soap), how often to wash it, and how to gently pat it dry. They will also advise on applying a thin layer of a recommended aftercare product, such as a specialized tattoo balm or a specific fragrance-free lotion, emphasizing the importance of applying only a minimal amount to avoid suffocating the skin.
Crucially, you will almost always receive written aftercare instructions. This handout is invaluable, as it serves as a tangible reminder of everything discussed, often including a daily schedule for cleaning and moisturizing, a list of products to use or avoid, and warnings about activities that could hinder healing. Common prohibitions include prolonged water immersion (baths, swimming pools, hot tubs), direct sun exposure, picking or scratching scabs, and wearing tight clothing that rubs against the tattoo. Always keep these written instructions somewhere accessible and refer to them diligently throughout the healing process. Adherence to these guidelines is not merely a suggestion; it is a fundamental requirement for optimal healing and the longevity of your tattoo.
Once aftercare instructions are covered, the conversation will shift to payment and tipping. Most studios accept various forms of payment, including cash and credit/debit cards. It’s always a good idea to confirm preferred payment methods beforehand, especially if you plan to pay with cash, as some artists prefer it for their tip. When it comes to tipping, it’s customary and highly encouraged to tip your tattoo artist. Tipping is a gesture of appreciation for their skill, time, and the quality of the service provided. Much like in the service industry, a tip of 15-20% of the tattoo’s total cost is standard for a good experience. For exceptional work or if the artist went above and beyond, a higher tip is always a wonderful acknowledgment. Remember, tattoo artists often pay a percentage of their earnings to the studio, cover their own supplies, and spend countless hours on design, setup, and cleanup, much of which is unpaid. Your tip directly supports their livelihood and acknowledges their artistry.
Before you leave, you might discuss potential touch-ups. Reputable artists often offer a complimentary touch-up within a certain timeframe (e.g., 6 months to a year) if minor areas need re-inking due to the healing process. This is especially common for areas that are difficult to heal or designs with fine lines that might fade slightly. Your artist will advise if a touch-up might be necessary and how to schedule it.
Finally, as you exit the studio, you’ll likely feel a profound mix of emotions: relief that the process is over, elation at your new acquisition, and perhaps a slight physical tenderness in the tattooed area. This immediate post-appointment feeling is part of the unique tattoo journey. You’ve successfully navigated your first session, armed with knowledge and a beautiful new piece of art. Now, the responsibility for its proper healing rests in your hands, but with the comprehensive guidance you’ve received, you are well-equipped to nurture your new ink.
Embracing your new ink: important reminders & enjoying your art
Having successfully navigated your first tattoo appointment, stepping out of the studio with fresh ink marks the beginning of another crucial phase: the healing journey. This is where the initial tenderness gives way to the settling of the design into your skin, a process that requires patience, diligent care, and a keen eye for your body’s signals. Embracing your new ink involves understanding this journey and making conscious choices to protect and preserve your permanent artwork for a lifetime.
The healing process of a tattoo typically unfolds in stages, each with its own set of sensations and visual changes. In the first few days, the tattooed area will likely remain red, swollen, and tender, similar to a sunburn. You might experience some mild discomfort or throbbing. During this initial phase, the tattoo will be secreting plasma and excess ink, which is perfectly normal. Continue to gently wash it as advised and apply your chosen aftercare product thinly. The second stage, usually starting around day 3-5, involves the tattoo beginning to scab or peel. This is analogous to a healing scrape or sunburn; the top layers of damaged skin are shedding. It is absolutely crucial to resist the urge to pick, scratch, or peel the flaking skin or scabs. Doing so can pull out ink, create patchy areas, increase the risk of infection, and potentially leave permanent scarring. Let your body shed naturally. Your tattoo might also become incredibly itchy during this phase; tapping or gently slapping the area can help alleviate the itch without causing damage. Keep it moisturized to help with the itch and prevent cracking.
The third stage, often lasting into weeks 2-4, sees the tattoo continuing to flake and settle. The initial vibrancy might appear somewhat dull or cloudy beneath a thin layer of new skin. This is temporary and known as “milky” or “ghosty” skin; as the skin fully regenerates, the colors will brighten and become clear again. By the end of this month, most tattoos are considered superficially healed, meaning the outer layers of skin have closed. However, it’s important to remember that a tattoo can take several months, even up to six months, to fully heal internally, as the deeper layers of the dermis continue to settle and encapsulate the ink.
Throughout these healing stages, it is vital to remain vigilant for any signs of complications. While some redness, swelling, and itchiness are normal, excessive redness that spreads, significant and prolonged swelling, intense pain that worsens over time, warmth radiating from the tattoo, pus discharge, foul odor, or fever are all potential indicators of infection. If you observe any of these symptoms, do not hesitate to contact your tattoo artist for their advice. They often have extensive experience with healing issues and can provide guidance. More importantly, seek medical attention promptly if you suspect an infection, as early treatment is key to preventing more serious health issues and preserving your tattoo’s appearance.
Beyond the initial healing period, the long-term care of your tattoo becomes a lifelong commitment to preserving its artistry. The single most important aspect of long-term tattoo care is sun protection. Ultraviolet (UV) radiation from the sun is the primary enemy of tattoos, causing ink to fade, blur, and lose its vibrancy over time. Always apply a high-SPF (50+) broad-spectrum sunscreen to your tattooed skin whenever it is exposed to the sun. Consider wearing clothing that covers your tattoos when spending extended time outdoors. Sunscreen is not just for beach days; incorporate it into your daily routine, especially for tattoos on frequently exposed areas like arms or legs. Regular moisturizing also contributes to the longevity and appearance of your tattoo. Well-hydrated skin keeps the ink looking fresh and vibrant, preventing dryness and dullness. Use a good quality, fragrance-free lotion regularly.
Finally, embrace and enjoy your new artwork. Your first tattoo is more than just ink on skin; it’s a personal statement, a piece of your story, and a testament to your journey. It’s common for people to experience a boost in confidence and self-expression after getting tattooed. This artwork is now a permanent part of you, reflecting your passions, beliefs, or significant life events. Share your excitement, connect with the broader tattoo community, and take pride in your unique canvas. Many find that their first tattoo is just the beginning of a lifelong love affair with body art, leading to a collection that evolves with them. Remember that tattoos evolve with your body and age gracefully; they become a part of your living history. By following proper aftercare and long-term maintenance, you ensure that your initial foray into the world of tattoos remains a vibrant and cherished part of who you are, a constant source of inspiration and personal expression for decades to come.
